You can manually edit student seating plan by using the Run Seating Chart Editor.
The Run Seating Chart Editor will be located under the District Administration Tab, School Administration Tab, and Bus Operators Tab.
Notes:
•Updating the Seating Chart in BusPlanner Web will update the seating chart in BusPlanner Pro
•Each Run Seating Chart Editor can be be turned on or off in the settings.
•Route and Run fields have been added to the Run Seating Chart Editor and will appear directly above the Vehicle Capacity label.
•The student's seat produced by the Run Seating Chart will now appear on the Route Details by Route Report, the Route Details by Run Report, the Student Listing Report and the Run Manifest Report.
•Only the user that has permission to edit the students will be able to view the information. Users who do not have permission will only see schoolID as well as the user with permission.
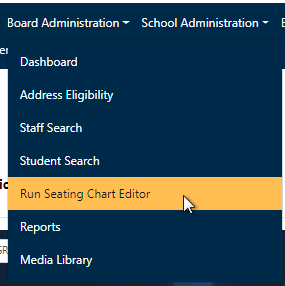
1.Choose the tool Run Seating Chart Editor from the applicable menu in BusPlanner Web.
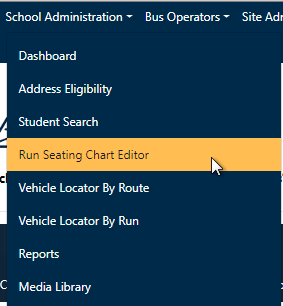
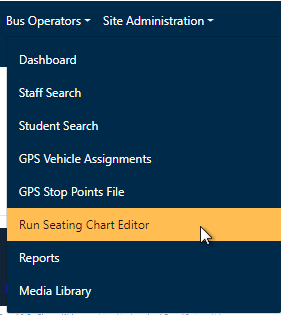
2.Select the Report Type, then depending on the Report type select the Operator, School or Driver.
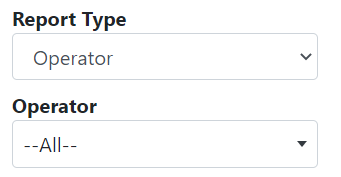
3.Select the Component Type, RunID and variation (if applicable).

4.Click the Load Run Seating Chart button to load the selected run. If the selected run is paired, you can click on the Mirror Paired Run Assignment button to copy the seating assignments of your mirrored run.

5.A form showing a graphical layout of the bus, according to the Seating Chart Style setting in BusPlanner, will be prefilled with the existing student information but allow seats to be changed using drop-downs listing the student names on the run.
6.This tool links to the live BusPlanner database, similar to how we did the GPS Route Vehicle mapping tool. Ask BusPlanner Support if you are unsure that you have this live link set up.
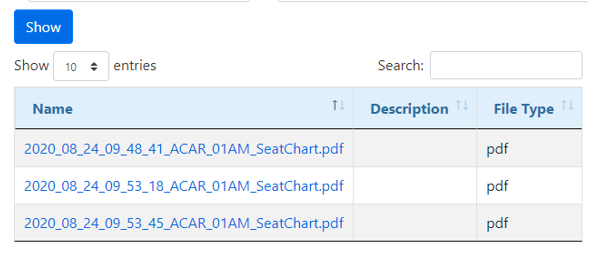
7.Once adjustments have been made to the chart, click the Save Seat Assignment button to update the information. This create and attach a new pdf to the run variation.
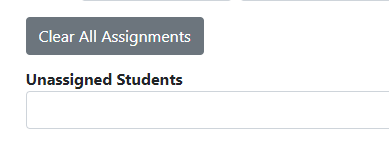
Note: In the Run Seating Chart Editor, a new button has been created on the page called Clear All Assignment to clear the assignment, setting the assigned student as unassigned, saving and reloading the chart. After clicking, students will show up as unassigned students.

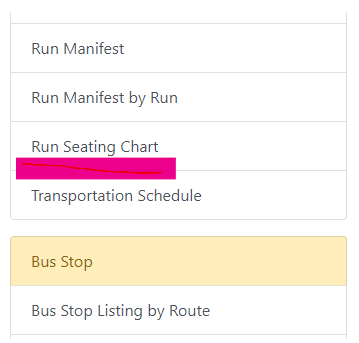
 Run Seating Chart Report
1.The Report will be available in the report section of BusPlanner Web. District Admins, School Admins and Operators will have access to the report. The report function can be turned on and off for each role in the settings.
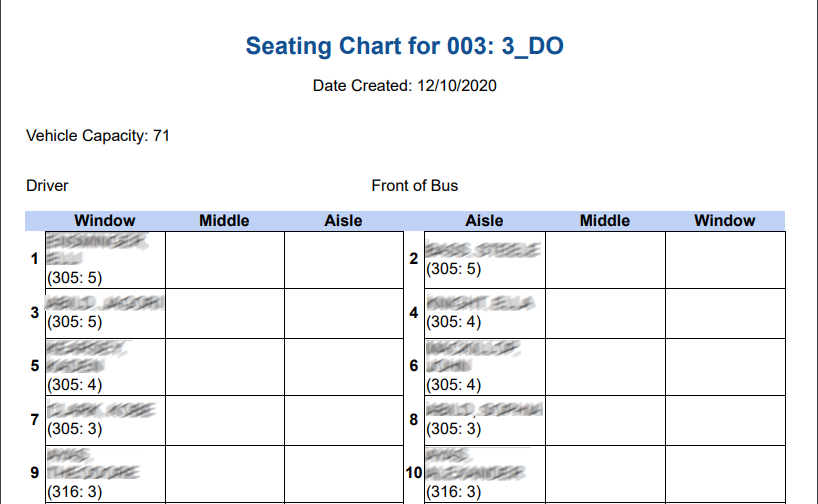
2.Separate from the Editing tool so that you could give Operators/Schools access to the report without allowing them to edit the chart. 3.Each time a seating chart is saved, a new pdf is created and attached to the run variation. This is so that you can have a history of seating charts in the event that they change periodically. The files are date/time stamped so that you can find the appropriate report when you need it.
Note: Any blocked seats/rows will be grey in the seating chart PDF |
 Setup In GeoIMS
The process of working with Seating charts involves the bulk Set Seating Charts tool in BusPlanner Pro, the Seat Chart Editor in BusPlanner Web and the Seat Chart Report tool. BusPlanner Web usually draws its data from the web copy of the live BusPlanner Database because it is generally read-only data. These Seat Chart tools in BusPlanner Web require being able to edit seat charts in the actual live copy of the BusPlanner database. This involves a bit of extra setup. In general, the setup requires that there be two instances of GeoIMS, one that points to the Web copy of the database and one that points to the live database. In addition, BusPlanner Web needs to know how to access each of these GeoIMS instances. The instructions are below. Installing a second instance of GeoIMS for the Live / Production database 1.From a command prompt with administrative privileges run: a."C:\Program Files (x86)\BusPlannerSuite\GeoIMS\GeoIMS.exe" -i -n GeoIMS_Live 2.Open Services and right click on the GeoIMS_Live service and choose properties. Then, on the Log On tab, change the account that the GeoIMS_Live service runs as to the same account as the first GeoIMS service instance. 3.Run the GeoIMSConsole and change the Service Name to GeoIMS_Live 4.In the GeoIMSConsole for GeoIMS_Live, click Settings a.Change Database Registry to %GEOENVU%\live_registry.xml b.Change Port to 6681 c.Match all other settings to the first GeoIMS service instance d.The Minimum database pool size needs to be at least 1 e.Close the Settings dialog 5.In the GeoIMSConsole for GeoIMS_Live, click DB Registry a.Add the live / production database b.Close the Database Registry 6.In the GeoIMSConsole for GeoIMS_Live, click start a.Ensure that there is at least one entry under Global to make sure that it opened the database. Change BusPlannerWeb Settings for the second GeoIMS instance 1.Run the WebInstallationTool found in C:\inetpub\wwwroot\BusPlannerWebSuite 2.On the “What would you like to install?” page, check “BusPlanner Web” 3.On the “General Settings” page, in the GeoIMS section, click the Browse button beside the Live 4.On the “Pick a GeoIMS Instance” a.Adjust the IP Address if necessary b.Set the Port to 6681 c.Click Browse, and select the live / production database 5.Click Next until the end of the pages 6.Click Finish to reconfigure / install BusPlanner Web with these changes |
